
Keeping your horses safe and secure within your property is crucial, and building a reliable horse fence is an essential part of that.
Whether you’re a seasoned horse owner or just starting out, this comprehensive guide will walk you through the process of constructing a sturdy and long-lasting horse fence.
What Is Horse Fence
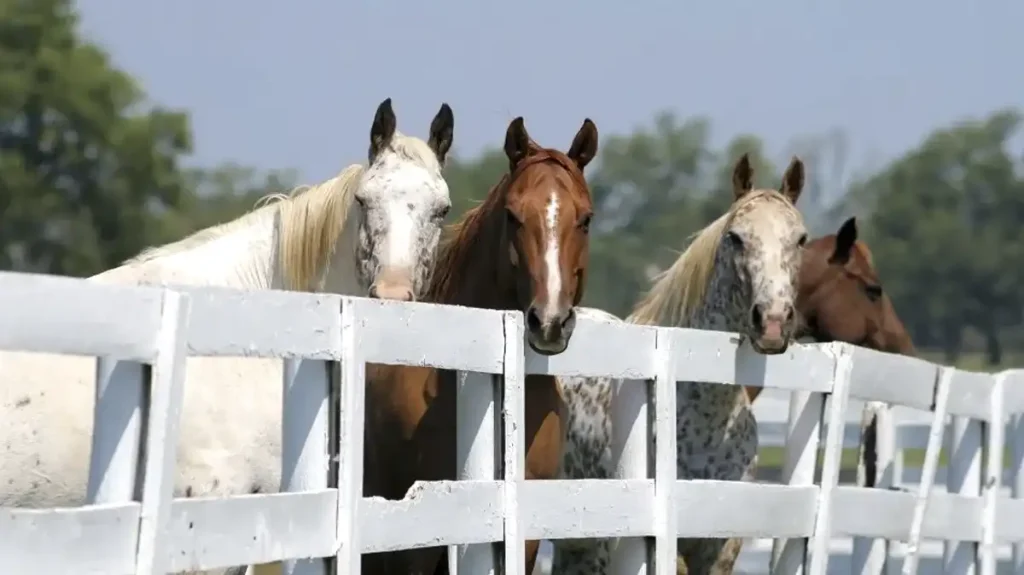
A horse fence is a type of fencing specifically designed to contain and protect horses within an enclosure or pasture.
Horse fences serve several important purposes:
- Safety: Horse fences are built to be strong, sturdy, and able to withstand the force and weight of horses. This helps prevent horses from escaping or injuring themselves by breaking through the fence.
- Containment: Horse fences are constructed to effectively keep horses inside the designated area, whether it’s a paddock, pasture, or arena. This is crucial for the horses’ well-being and the security of the property.
- Visibility: Many horse fences incorporate features like rails, boards, or electric wires that are highly visible to horses, helping them recognize the boundaries of their enclosure.
- Aesthetics: Horse fences can be designed to complement the rural or equestrian aesthetic of a property, adding to the overall visual appeal of the landscape.
Choosing the Right Horse Fence Types
The first step in building a horse fence is to select the appropriate type of horse fence for your needs. Some popular options include:
- Wooden Fencing: Wooden fences, such as post-and-rail or board fencing, are a classic choice that blends well with rural and equestrian settings.
- Vinyl Fencing: Vinyl fencing is a low-maintenance, weather-resistant option that comes in a variety of styles and colors.
- Woven Wire Fencing: Woven wire fences provide a sturdy and cost-effective solution, often used in combination with wooden posts.
- Electric Fencing: Electric fences are an effective deterrent for horses, helping to keep them safely contained within your property.
Consider factors such as your budget, the size of your property, and the level of security required when selecting the most suitable fence type.
How Much Does It Cost to Build a Horse Fence
Building a horse fence can be a significant investment, but the cost can vary depending on several factors. In this article, we’ll explore the various cost components to help you estimate the budget for your horse fencing project.
Fence Type
The type of fence material you choose will have a significant impact on the overall cost. Here’s a general cost range for some popular horse fence options:
Wooden Fencing:
- Post-and-rail fencing: 10𝑡𝑜25 per linear foot
- Board fencing: 15𝑡𝑜30 per linear foot
Vinyl Fencing:
- Vinyl post-and-rail fencing: 20𝑡𝑜40 per linear foot
- Vinyl board fencing: 25𝑡𝑜50 per linear foot
Woven Wire Fencing:
- Woven wire fencing: 5𝑡𝑜15 per linear foot
Electric Fencing:
- Electric tape or rope: 1𝑡𝑜3 per linear foot
- Electric wire: 0.50𝑡𝑜2 per linear foot
The cost can vary depending on the quality of the materials, the number of rails or boards, and the complexity of the fence design.
Post Installation
The cost of installing the fence posts can be a significant portion of the overall project. Factors that affect the post installation cost include:
- Post Material: Wooden, metal, or concrete posts will have different price points.
- Post Depth: Deeper post holes (24-36 inches) will require more labor and materials.
- Terrain: Uneven or rocky terrain may increase the difficulty and cost of post installation.
Expect to pay 5𝑡𝑜15 per post for the materials and installation, depending on the factors mentioned above.
Labor Costs
The labor cost for installing a horse fence can vary widely based on the complexity of the project, the size of the area, and the experience of the installers. Generally, you can expect to pay:
- 20𝑡𝑜50 per hour for a professional fencing contractor
- 15𝑡𝑜30 per hour for a handyman or DIY labor
The total labor cost can range from 500𝑡𝑜5,000 or more, depending on the size and scope of the project.
Additional Costs
Other expenses to consider when budgeting for a horse fence include:
- Permits and Inspections: Depending on your local regulations, you may need to obtain permits and undergo inspections, which can add to the overall cost.
- Accessories: Items like gates, corner braces, and tension bands can add to the total cost.
- Maintenance: Regular maintenance, such as repairing damaged sections or repainting the fence, should be factored into your long-term budget.
Estimating the Total Cost
To estimate the total cost of your horse fence project, consider the following steps:
- Measure the area and determine the linear footage of fencing required.
- Select the fence type and calculate the material costs.
- Estimate the post installation costs based on the terrain and post material.
- Determine the labor costs based on the project scope and your DIY capabilities.
- Add in any additional costs for permits, accessories, and future maintenance.
By considering these factors, you can develop a realistic budget for your horse fencing project and ensure that your horses are safely contained within your property.
How to Build a Horse Fence
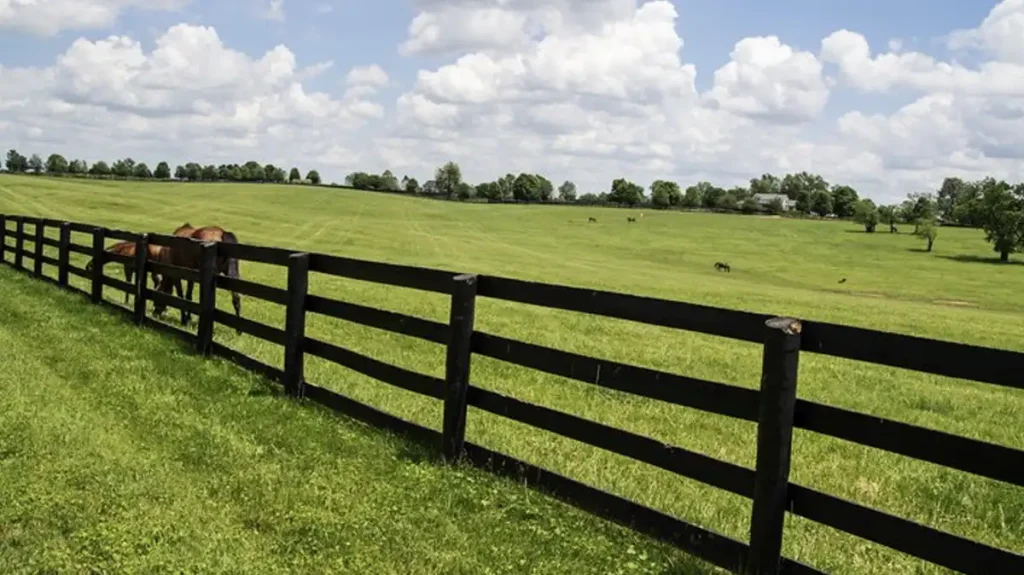
Preparing the Site
- Clear the Area: Remove any debris, vegetation, or obstacles from the area where the fence will be installed.
- Mark the Fence Line: Use stakes, chalk, or spray paint to mark the desired fence line, ensuring it follows the contours of the land.
- Dig Post Holes: Dig holes for the fence posts, ensuring they are deep enough (typically 24-36 inches) and spaced appropriately for the fence type.
Installing the Fence Posts
- Set the Posts: Place the fence posts in the holes and ensure they are level and properly aligned.
- Secure the Posts: Fill the holes with concrete or gravel and tamp it down to hold the posts in place.
- Allow Time to Cure: Let the concrete or gravel cure for the recommended time before proceeding with the next steps.
Attaching the Fence Panels
- Measure and Cut: Measure the distance between posts and cut the fence panels (boards, wire, or vinyl) to the appropriate length.
- Secure the Panels: Attach the fence panels to the posts using the appropriate hardware, such as nails, screws, or clips.
- Maintain Tension: Ensure the fence panels are taut and properly tensioned to prevent sagging or loosening over time.
Additional Considerations
- Gates: Install sturdy, well-functioning gates at desired entry and exit points, ensuring they swing freely and latch securely.
- Accessories: Consider adding accessories like top rails, electric wires, or reflectors to enhance the fence’s visibility and safety.
- Maintenance: Regularly inspect the fence for any damage or loose components, and address issues promptly to maintain its integrity.
How to Build Wood Horse Fence
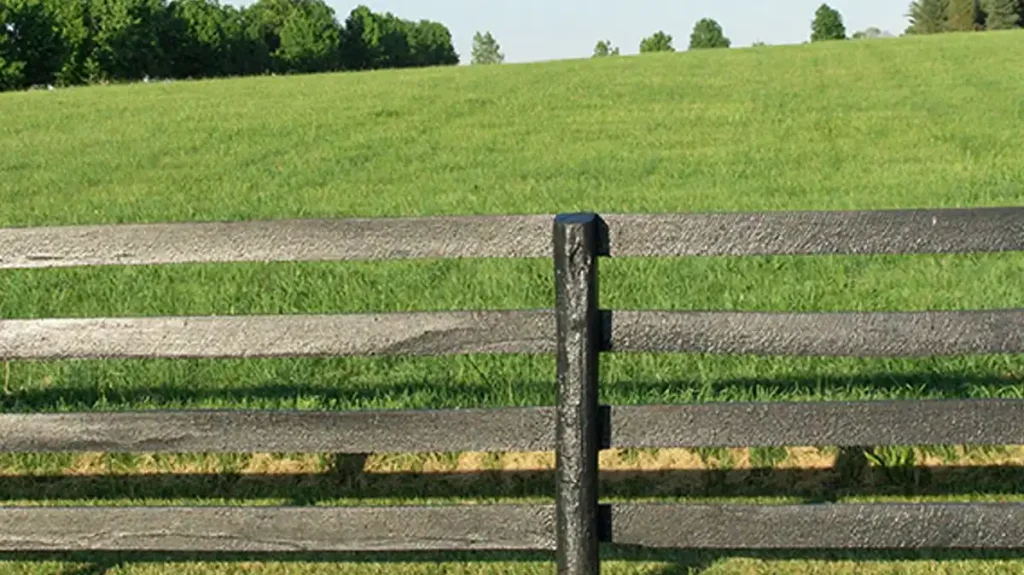
Building a wooden horse fence is a popular choice for many equestrian properties. Wooden fences offer a classic, rustic look that blends well with rural settings. Follow these step-by-step instructions to construct a durable and long-lasting wood horse fence:
1. Plan the Fence Layout
- Determine the desired fence line and measure the total length.
- Decide on the fence style, such as post-and-rail or board fencing.
- Calculate the number of fence posts, rails, and boards needed based on the measurements.
2. Prepare the Site
- Clear the fence line of any vegetation, debris, or obstacles.
- Mark the post locations using stakes or spray paint, spacing them approximately 6-8 feet apart.
- Dig the post holes, ensuring they are deep enough (typically 24-36 inches) to provide adequate stability.
3. Install the Fence Posts
- Place the wooden posts in the holes and ensure they are level and properly aligned.
- Fill the holes with concrete or gravel and tamp it down to hold the posts in place.
- Allow the concrete or gravel to cure for the recommended time before proceeding.
4. Attach the Top Rails
- Measure and cut the top rails to the appropriate length.
- Secure the top rails to the posts using galvanized screws, nails, or brackets.
- Ensure the top rails are level and evenly spaced.
5. Install the Fence Boards
- Measure and cut the fence boards to the desired length.
- Attach the boards to the top rails using galvanized screws or nails, spacing them evenly (typically 6-12 inches apart).
- Stagger the board joints to create a more visually appealing and sturdy fence.
6. Add Intermediate Rails (Optional)
- If desired, install additional intermediate rails between the top and bottom rails.
- This can provide extra support and security for the fence.
7. Finish the Fence
- Trim any excess post material above the top rail.
- Apply a weather-resistant sealant or paint to the fence, if desired, to protect the wood.
- Install any additional accessories, such as gates, corner braces, or reflectors.
8. Maintain the Fence
- Regularly inspect the fence for any damage or loose components.
- Tighten any loose screws or nails, and replace any damaged boards or rails.
- Reapply sealant or paint as needed to maintain the fence’s appearance and longevity.
By following these steps, you can build a sturdy and attractive wood horse fence that will keep your horses safely contained within your property. Remember to consider local building codes and regulations, and consult with a professional if you have any questions or concerns during the construction process.
How to Build a Wire Horse Fence
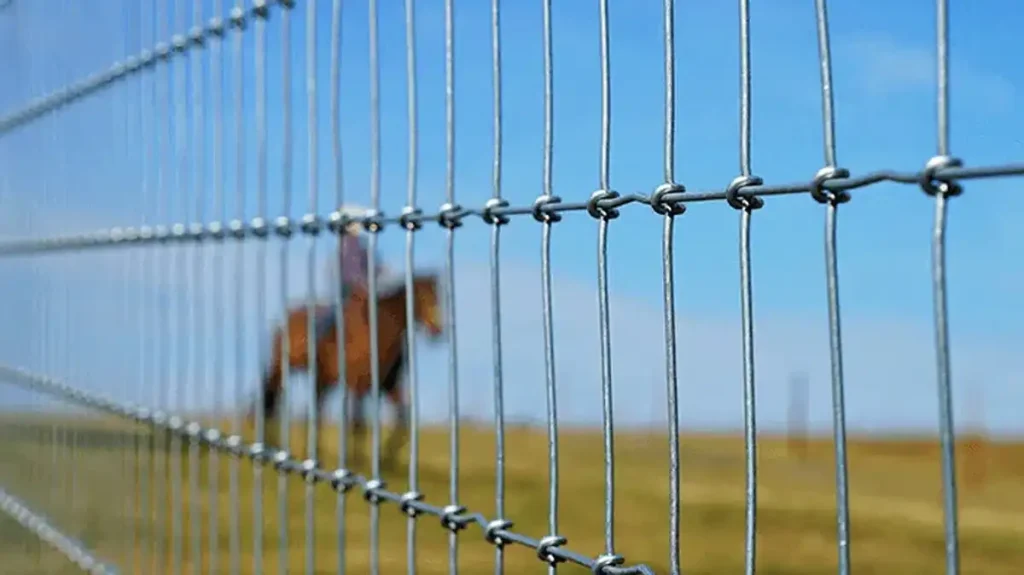
Woven wire fencing is a popular and cost-effective option for horse enclosures. Follow these step-by-step instructions to construct a durable wire horse fence:
1. Plan the Fence Layout
- Determine the desired fence line and measure the total length.
- Decide on the fence style, such as high-tensile woven wire or field fence.
- Calculate the number of fence posts, wire rolls, and any additional materials needed based on the measurements.
2. Prepare the Site
- Clear the fence line of any vegetation, debris, or obstacles.
- Mark the post locations using stakes or spray paint, spacing them approximately 8-12 feet apart.
- Dig the post holes, ensuring they are deep enough (typically 24-36 inches) to provide adequate stability.
3. Install the Fence Posts
- Place the wooden, metal, or concrete posts in the holes and ensure they are level and properly aligned.
- Fill the holes with concrete or gravel and tamp it down to hold the posts in place.
- Allow the concrete or gravel to cure for the recommended time before proceeding.
4. Attach the Wire Fencing
- Unroll the wire fencing and position it along the fence line, overlapping the ends as needed.
- Secure the wire fencing to the posts using galvanized staples, clips, or tension bands, ensuring it is taut and level.
- If using high-tensile wire, apply the necessary tension to the wire using a wire stretcher tool.
5. Add Intermediate Posts (Optional)
- For longer fence runs, install additional intermediate posts between the main posts to provide extra support and stability.
- Space the intermediate posts approximately 4-6 feet apart.
6. Install Top and Bottom Rails (Optional)
- If desired, attach top and bottom rails to the fence posts to add extra strength and visual appeal.
- Secure the rails using galvanized screws, nails, or brackets.
7. Finish the Fence
- Trim any excess post material above the top rail or wire fencing.
- Install any additional accessories, such as gates, corner braces, or reflectors.
8. Maintain the Fence
- Regularly inspect the fence for any damage or loose components.
- Tighten any loose wire connections or replace any damaged sections.
- Check the tension of the wire fencing and adjust as needed to maintain its integrity.
By following these steps, you can build a sturdy and effective wire horse fence that will keep your horses safely contained within your property. Remember to consider local building codes and regulations, and consult with a professional if you have any questions or concerns during the construction process.
How to Build Electric Fence for Horses
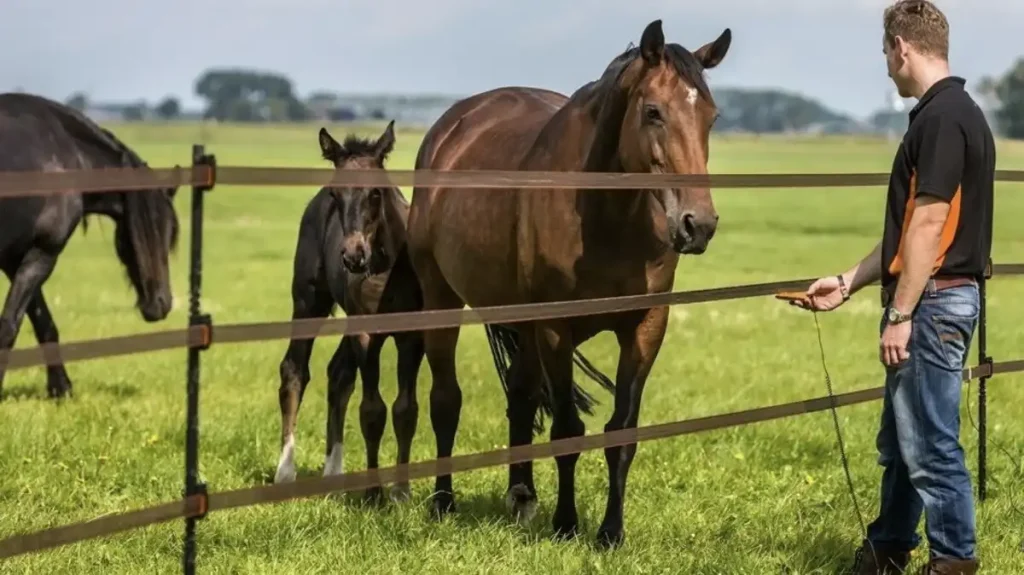
Electric fencing is a popular choice for containing horses due to its effectiveness and relatively low cost. Follow these step-by-step instructions to construct a reliable electric horse fence:
1. Plan the Fence Layout
- Determine the desired fence line and measure the total length.
- Decide on the type of electric fence system, such as high-tensile wire, electric tape, or electric rope.
- Calculate the number of fence posts, insulators, and other materials needed based on the measurements.
2. Prepare the Site
- Clear the fence line of any vegetation, debris, or obstacles.
- Mark the post locations using stakes or spray paint, spacing them approximately 50-100 feet apart.
- Dig the post holes, ensuring they are deep enough (typically 24-36 inches) to provide adequate stability.
3. Install the Fence Posts
- Place the wooden, metal, or fiberglass posts in the holes and ensure they are level and properly aligned.
- Fill the holes with concrete or gravel and tamp it down to hold the posts in place.
- Allow the concrete or gravel to cure for the recommended time before proceeding.
4. Attach the Electric Fence Components
- Run the electric fence wire, tape, or rope along the posts, securing it to the insulators.
- If using high-tensile wire, apply the necessary tension to the wire using a wire stretcher tool.
- Connect the electric fence components to the energizer unit, ensuring proper grounding.
5. Install the Energizer Unit
- Choose a suitable location for the energizer unit, such as a shed or barn, that is easily accessible.
- Connect the energizer unit to a power source, either a 110V electrical outlet or a solar-powered unit.
- Ensure the energizer unit is properly grounded to the fence system.
6. Test the Electric Fence
- Use a fence tester or voltmeter to check the voltage of the electric fence.
- Adjust the energizer settings or troubleshoot any issues to ensure the fence is delivering the appropriate voltage.
7. Add Accessories (Optional)
- Consider installing additional accessories, such as gates, warning signs, or reflectors, to enhance the fence’s visibility and safety.
8. Maintain the Electric Fence
- Regularly inspect the fence for any damage or loose components.
- Tighten any loose connections and replace any damaged sections of the fence.
- Keep the area around the fence clear of vegetation to maintain proper conductivity.
- Test the voltage of the electric fence periodically and adjust the energizer as needed.
By following these steps, you can build a reliable and effective electric horse fence that will keep your horses safely contained within your property. Remember to follow all local safety regulations and consult with a professional if you have any questions or concerns during the construction process.
Conclusion
Building a horse fence requires careful planning and execution, but the effort is well worth it to keep your horses safe and secure. By following this step-by-step guide, you’ll be able to construct a durable and reliable fence that will serve your equestrian needs for years to come.